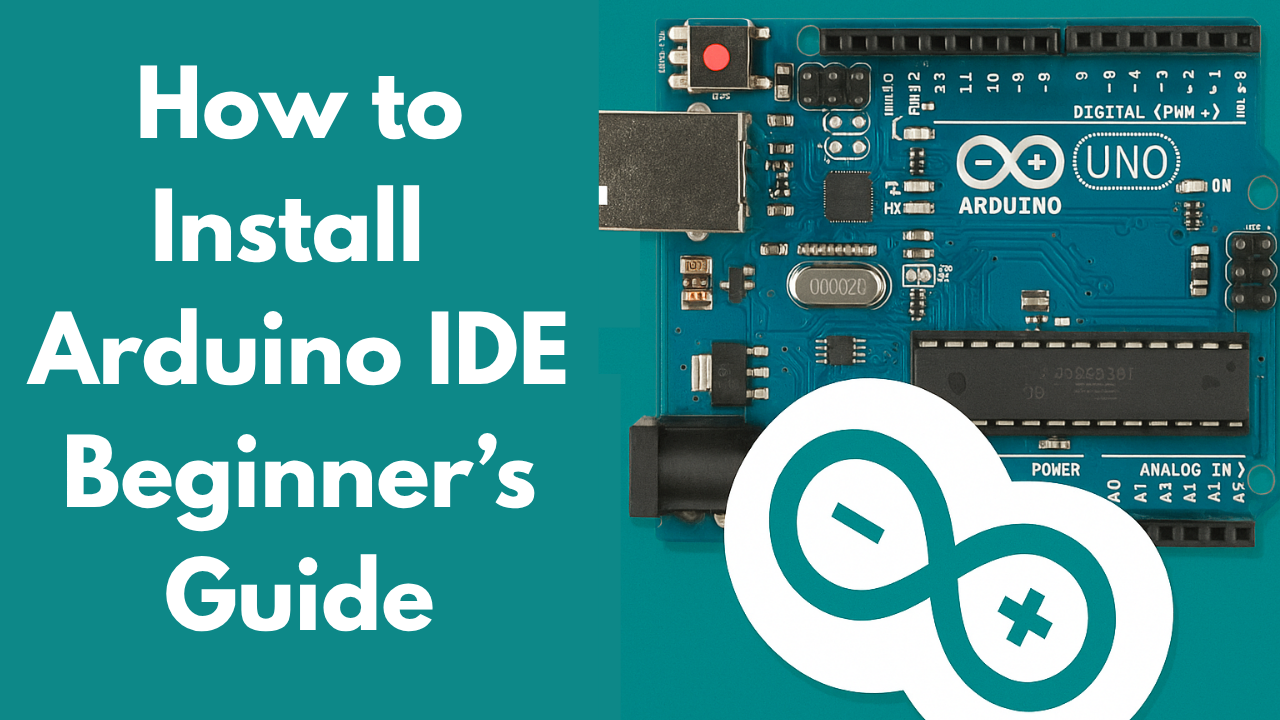
If you’ve ever dreamt of building your own smart gadgets — whether it’s an automatic door, a robot car, or a home automation system — Arduino is one of the best places to start. But before you jump into connecting wires and uploading codes, you’ll need to install the Arduino IDE (Integrated Development Environment) on your computer.
In this simple, beginner-focused tutorial, we’ll guide you through the complete installation process one step at a time. No confusing tech jargon — just clear, simple instructions to get you up and running!
📦 What is the Arduino IDE?
The Arduino IDE is the official software used to write, compile, and upload code to Arduino boards. It’s lightweight, free to use, and works on Windows, Mac, and Linux. Think of it as the command center for your Arduino projects.
🖥️ System Requirements
Before downloading, make sure your PC meets these basic requirements:
Windows: Windows 7 or later
Mac: OS X 10.10 or later
Linux: Ubuntu-based systems preferred
Minimum RAM: 2GB
Internet connection for downloading software and libraries
📥 Downloading Arduino IDE
🔗 Official Download Link:
👉 Download Arduino IDE Here
📌 Steps:
- Visit the official Arduino software page.
- Select the version that matches your operating system.
- Choose “Just Download” or donate to support the platform if you wish.
- Save the installation file on your computer.
⚙️ Installing Arduino IDE on Windows
1️⃣ Double-click the downloaded .exe file.
2️⃣ Hit “I Agree” to proceed with the license terms.
3️⃣ Keep all components selected and click Next.
4️⃣ Choose your installation location (default is recommended).
5️⃣ Click Install and wait for the setup to finish.
6️⃣ Once done, click Close.
✅ That’s it! The Arduino shortcut icon will now appear on your desktop.
⚙️ Installing Arduino IDE on Mac
1️⃣ Open the downloaded .zip file.
2️⃣ Drag the Arduino application into your Applications folder.
3️⃣ Open the Arduino app — you may need to allow permission via System Preferences > Security & Privacy.
✅ You’re all set to start coding!
⚙️ Installing Arduino IDE on Linux
For Ubuntu:
sudo apt update
sudo apt install arduino
Or download the .tar.xz package from the official site, extract it, and run install.sh from the terminal.
📡 Connect Your Arduino Board
- Plug your Arduino board into your computer via USB.
- Open the Arduino IDE.
- Navigate to Tools > Board and choose your specific Arduino model (for example, Arduino Uno).
- Head over to Tools > Port and pick the COM port linked to your connected Arduino board.
📝 Test It with a Simple Program
1️⃣ Navigate to File > Examples > Basics > Blink to open the classic LED blinking program.
2️⃣ Click the Upload button (right arrow icon).
3️⃣ If the onboard LED starts blinking — congratulations, your setup works perfectly!
🎯 Why Choose Arduino IDE for Beginners?
✅ Free and open-source
✅ Simple, clean interface
✅ Works with hundreds of Arduino-compatible boards
✅ Massive online community and library support
✅ Ideal for school, college, and personal DIY projects
📢 Final Thoughts
The Arduino IDE is the doorway to endless creativity. Once installed, you’ll be able to build everything from smart security systems to automatic plant watering devices. It’s time to bring your ideas to life — one line of code at a time!
📞 Need Help or Want Ready-Made Arduino Projects?
Explore our exclusive collection of beginner to advanced Arduino kits and projects:
👉 Visit Our Website – electricalbro.in
📱 Phone: 8130231489
📧 Email: support@electricalbro.in
Let’s build something awesome together! ⚡
🎥 Follow & Learn More
Subscribe to our YouTube channel for hands-on projects, coding tutorials, and hardware experiments. Stay creative and keep building!


 Bluetooth Stereo Audio Receiver Wireless Smallest and powerful Chip for DIY amplifier